Alpha DIC® software modules
Core module included with every extensometr + optional modules to extend functionality
CORE MODULE
Included automatically with the hardware you purchase
OR


OPTIONAL MODULES
Add extra measurement and workflow capabilities
SOFTWARE MEASURING TOOLS
Basic measuring tools (Point, Anchor Point, Line, and Extreme Line) are included by default. All other measuring tools are available as part of optional software modules.
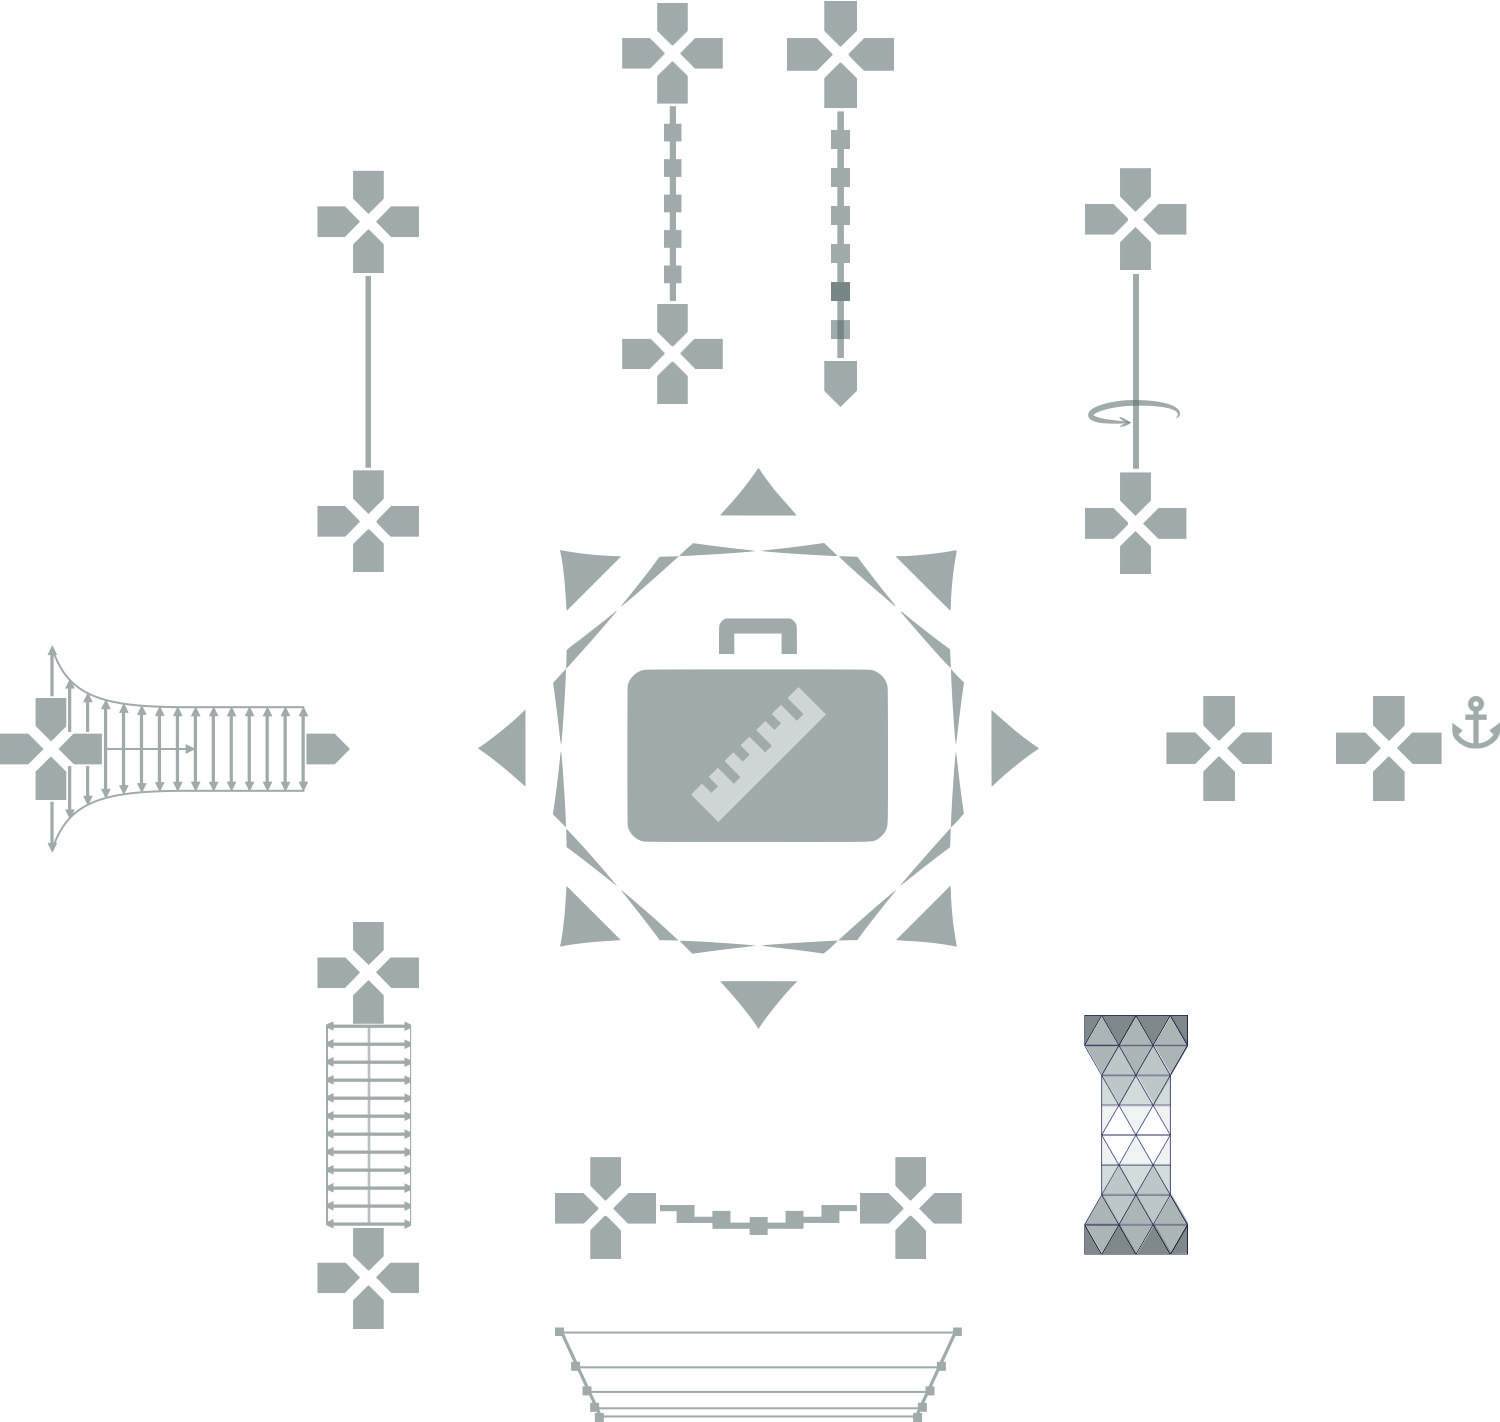
POINT (AX)

A basic measuring probe for displacement determination.
ANCHOR POINT (AX)

Allows to isolate displacements of other probes from displacements of the Anchor Point. It is intended for use with other probes.
LINE (AX)

An elementary measuring probe for strain and length determination
EXTREME LINE (AX)

A probe for axial neck detection. Provides improved E-modulus reading and eliminates invalid tests caused by failure outside the gauge length area.
TRANS LINE (TR)
Offers a multi-positional transversal measurement with averaged and max/min width functions.
TORSION LINE (TO)
Enables dual position angular twist and strain measurement.
BEND LINE (TR)
A probe designed for bending tests. Measures strain over a curved shape and enables to visualize the real-time strain distribution.
LINE VALUE DISTRIBUTION (LVD)
Provides a colorful strain visualization feature during real-time measurement.
CRACK PROBE (CL)
Measures crack length during static or dynamic tests.
DIC AREA (DIC)
A full-field probe for strain and displacement distribution mapping.
ROD LINE (ITT)
Designed for rebar measurement, it compensates for the detachment of the oxide layer during testing. Includes the axial neck detection feature.
NET PROBE (NP)

An advanced tool
for complex strain
measurement and visualization of wireframe components and beam structures.
AX – AXIAL STRAIN
Basic UI and mandatory module. Allows for measurement of axial strain in real-time. In addition to the elementary measuring probes such as Point probe and Line probe, the Alpha Axial Strain measurement module includes the Extreme Line probe that divides the length of the specimen into multiple precisely defined gauge segments and detects the necking area. This function provides an advantage over conventional single-position measurement, wherein a rupture outside the gauge length area causes test invalidity.
AX3D – AXIAL STRAIN + 3D functionality
+ 3D functionality
Basic UI and mandatory module delivered with every 3D extensometer system. It provides real-time axial strain measurement together with 3D evaluation for specimens that deform outside the measurement plane.
3D functionality
3D functionality enables stereoscopic measurement. Alpha DIC supports full 3D evaluation as well as markerless Planar mode that can reduce the need for sample marking.
3D FULL
Full 3D mode evaluates axial strain directly in three-dimensional space. Measurement points can be positioned freely on the specimen surface, enabling reliable analysis of complex 3D objects and components.

Example 1: Sample out of plane at the start of experiment
Curved → Straight

Example 2: Coupling (Multi-plane points)

Example 3: 3D surface component
3D PLANAR
AX3D includes an integrated Planar mode, designed for tests where the specimen starts in plane. Planar functionality is a unique advantage, enabling reliable extensometry even on shiny unmarked samples.

Example 1: Tensile testing of a thin specimen
Straight → tilted
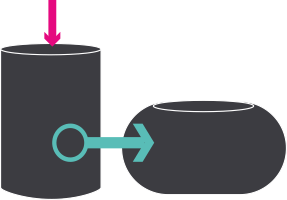
Example 2: Round specimen compression
Straight → Barrelshaped

Example 3: Round specimen compression
Straight → bent (buckling)
TR – TRANSVERSAL STRAIN
Allows for measuring of transversal strain in real-time. In addition to the elementary measurement probes such as Point probe and Line probe, the Alpha Transversal Strain measurement module includes the Trans Line probe with the edge detection feature. The Trans Line offers single or multiple line width measurement. This is an advantage over the conventional single-position measurement. All lines can be averaged for a precise Poisson’s ratio reading. The transversal module does not support axial strain measurement.
TO – TORSIONAL
Allows for measurement of angular twist on cylindrical specimens in two positions. Usable in static and dynamic applications. This module is an extension and works only with the A or T modules.
PP – POST PROCESS
This module unlocks a remarkably efficient tool for processing of previously recorded tests with sub-sequent playback and data export. Each real-time measurement method can have multiple offline records with a custom probe layout. Post-Process is an optimal solution for measurement of unique or expensive specimens and components.
DIC – DIC AREA
This module provides a strain or displacement distribution map, thereby enabling to obtain maximum available data from each experiment. This feature surpasses other technologies on the market. It helps users all over the world not just to improve the understanding of their experiments, but thanks to an easily interpretable output, also to sell their results effortlessly.
NP – NET PROBE

Enables advanced strain measurement using the Net Probe, a mesh of interconnected measurement points. This configuration allows effective analysis and visualization of complex deformation in wireframe components, lattice structures, and beam-based constructions, where conventional point or line probes are insufficient.
DI – DEVICE INPUT
Enables real-time import of external values concerning force, motion, or temperature as an analog or digital signal into Alpha. Useful mainly for post-processing or measurements taking place outdoors.
CL – CRACK LENGTH
This module is designed for crack length measurement of compact tension (CT) or double cantilever beam (DCB) specimens. Line probe function is included in the CL module. Line probe enables crack opening measurement providing results comparable to conventional devices.
LVD – LINE VALUE DISTRIBUTION
While a full-field strain distribution via DIC Area analysis usually requires post-processing due to a high number of computational points, the Line Value Distribution module provides a colourful value visualization feature that is more feasible during real-time measurements. It is supported by most types of probes that are divided to line segments, specifically strain distribution for Extreme, ROD and Bend Lines, including an additional choice of Deflection or Curvature for Bend Lines.
ITT – INTELLIGENT TENSILE TEST
An advanced feature for measuring specimens with an outside layer creating fragments that eventually fall off. A typical application is the tensile testing of reinforcing steel bars with a layer of oxide or rust.
FLC – FORMING LIMIT CURVE
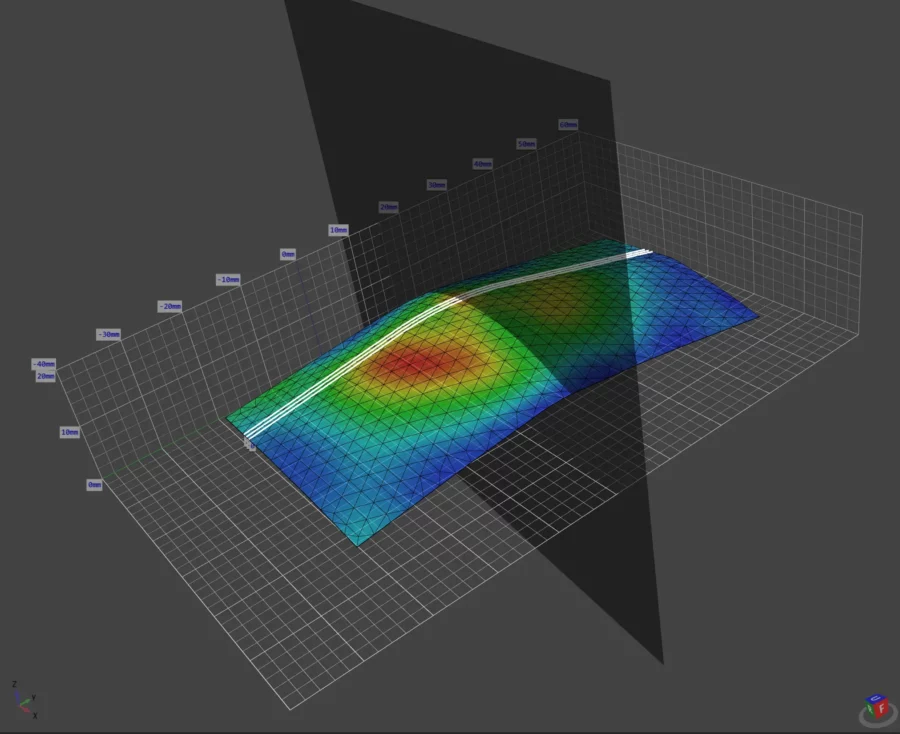
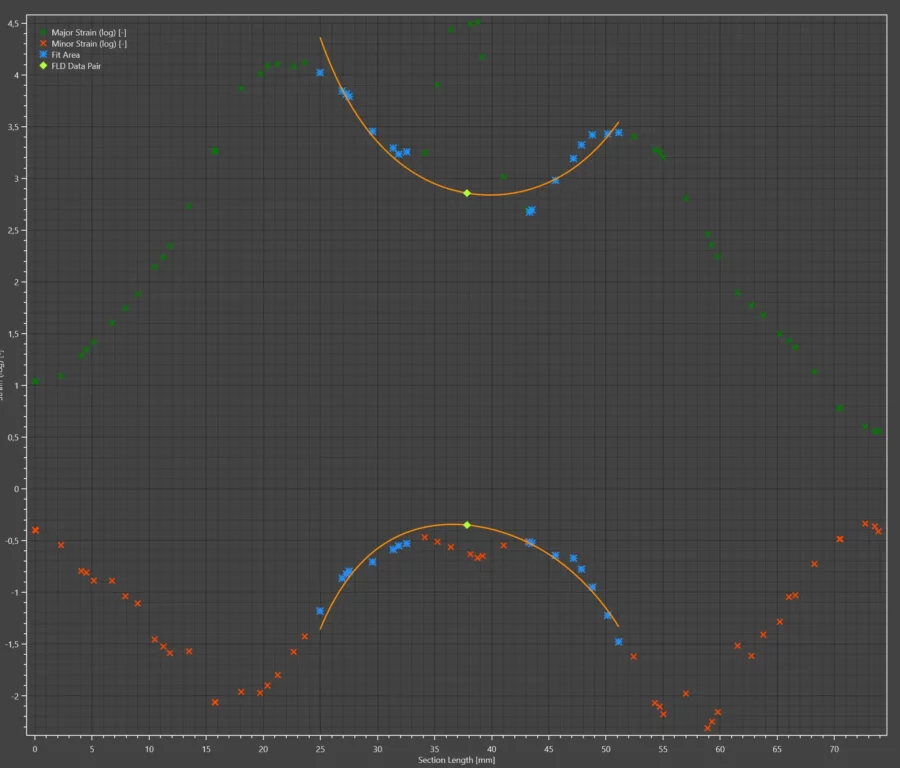
The FLC module enables accurate determination of Forming Limit Curves (FLC/FLD) using full-field strain data from Digital Image Correlation. It provides an efficient and reliable method for evaluating sheet metal formability by capturing local strain evolution throughout forming tests.
Available only for 3D setups
ADVANCED FEATURES OF THE 2D & 3D ALPHA DIC SW
- Computer vision camera measurement software
- Real-time evaluation of deformations (displacement & strain)
- Real-time dynamic optical measurement of deformations including their velocity and acceleration (up to 4 kHz)
- Spatial real-time measurement
- Assisted 2D & 3D calibration procedure
- Real-time value averaging
- Time to Measured Value charts
- SW optimized for low latency – processing frames at high FPS
- Advanced calibration grid accuracy – easy adjustment for faster calibration
- Multiple stereo camera pair support for extended Field of View
- Stereo camera synchronization supporting multiple camera pairs
- Dedicated user interface configuration for material testing operators in industrial environments
- User Interface optimized for quick set-up and measurement
- Data post-processing and playback
- Real-time value output to a multitude of connected A/D devices (D/A converters and other generic binary or digital outputs to 3rd party applications)
- Real-time input of external values (from A/D converters or generic digital inputs transmitting data from testing machine sensors or other devices)
- SW can be fully controlled via API commands and queries
- 3D VTK Export – generic export useful for any further data processing and import into CAE (CAD/FEM/CFD) systems such as ANSYS and ParaView